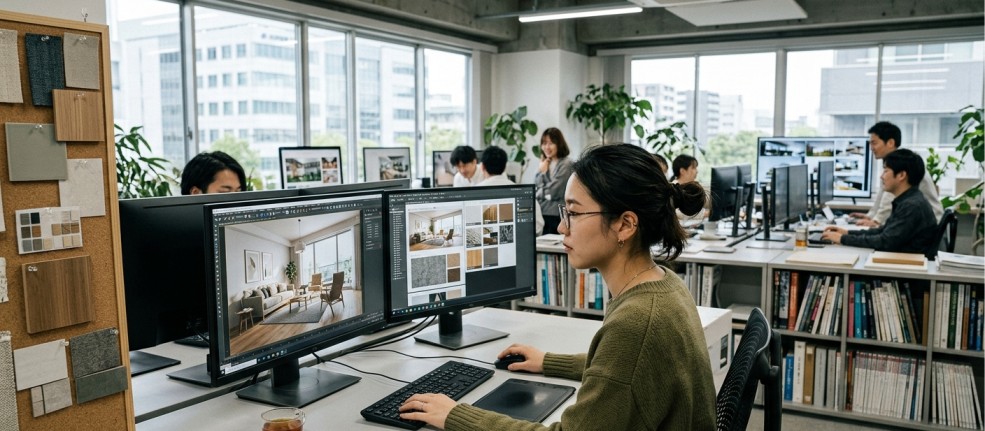
Transforming a flat floor plan into a breathing space is a fascinating process. The journey from 2D schematics to photorealistic imagery relies heavily on the quality and accuracy of 3d rendering interior design. This digital translation helps architects and clients alike see exactly how a room will feel before a single brick is laid.
But what turns a stark grey 3D model into a warm, inviting living room? The secret lies in the materials. Selecting and applying the right digital materials—from the subtle grain of oak floorboards to the reflective sheen of a marble countertop—brings authenticity to the visualisation.
This guide breaks down the essential steps and materials required to convert basic CAD drawings into stunning 3D interior renders. You will learn how to build the foundation, bridge the gap between dimensions, and master the art of digital texturing to achieve true realism.
The Foundation: CAD Drawings
Computer-Aided Design (CAD) drawings serve as the critical blueprint for any architectural visualisation project. These 2D vector files contain the precise measurements, layout, and structural elements of the interior space. They define the walls, windows, doors, and permanent fixtures. Without a highly accurate CAD file, the resulting 3D model will suffer from proportional errors and awkward spacing.
Architects create these drawings using strict mathematical parameters. Every line represents a physical boundary, providing the exact scale required to ensure furniture and textures eventually fit perfectly into the virtual environment.
Bridging the Gap: From 2D to 3D
Once the CAD floor plans and elevations are finalised, the next step involves extruding these flat lines into a three-dimensional geometric model. 3D artists import the CAD files into modelling software, pulling up walls and carving out openings for windows and doors.
This stage creates the “clay model” or “white box” version of the room. It is a sterile, unlit environment that focuses entirely on volume and spatial relationships. Establishing this geometric base accurately ensures that the subsequent application of lights and materials behaves according to real-world physics.
The Heart of Realism: Material Selection
The true magic happens when you begin applying materials to your clay model. The choice of materials dictates the mood, style, and physical credibility of the space.
Wood and Timber
Wood adds warmth and organic texture to any interior. In rendering, creating realistic wood requires attention to the grain direction, knots, and finish. A high-gloss polished mahogany will reflect light very differently from a rough-hewn, matte reclaimed oak beam. Digital artists must adjust the glossiness and bump values to match the exact species and treatment of the timber specified by the designer.
Metals
Metals are defined by their reflectivity and surface imperfections. A brushed brass fixture diffuses light, creating a soft glow, while a polished chrome tap acts almost like a perfect mirror. Adding subtle smudges, fingerprints, or micro-scratches to metal surfaces prevents them from looking artificially perfect, grounding the render in reality.
Fabrics and Textiles
Sofas, curtains, and rugs require complex materials to mimic the weave and fuzz of real fabrics. Velvet, for instance, has a distinct falloff effect where the edges look lighter than the centre, a property known as a Fresnel reflection. High-quality displacement maps are often used to give rugs and carpets their necessary thickness and volume.
Glass and Transparent Surfaces
Glass needs refraction properties to look convincing. The way light bends as it passes through a thick glass table differs significantly from how it behaves through a thin windowpane. Artists adjust the Index of Refraction (IOR) within their software to accurately simulate how light travels through different types of glass, liquids, and plastics.
Stone and Concrete
Marble countertops, slate tiles, and exposed concrete walls rely on high-resolution textures to capture their porous nature and subtle colour variations. These materials require excellent specular maps to highlight areas that are polished versus areas that might be slightly weathered or dusty.
Software and Tools
To apply these materials, artists rely on industry-standard 3D rendering software such as 3ds Max, Blender, Cinema 4D, or SketchUp. These platforms provide the robust modelling tools needed to refine the geometry.
For the actual rendering process, these programs pair with powerful render engines like V-Ray, Corona Renderer, or Lumion. These engines come equipped with extensive, pre-calibrated material libraries. These libraries provide an excellent starting point, offering hundreds of ready-to-use textures—from painted plaster to terracotta tiles—that artists can tweak to suit specific project needs. Additionally, online repositories like Quixel Megascans offer scanned data of real-world materials, allowing for unparalleled photorealism.
Advanced Techniques: Texturing, Shaders, and Lighting
Applying a flat image of a brick wall onto a 3D plane will inevitably look artificial. To achieve true photorealism, artists use advanced mapping and shading techniques.
Bump and Displacement Maps
These maps tell the render engine to simulate physical depth. A bump map creates the illusion of texture on a flat surface, catching light on tiny details like the pores of leather. A displacement map actually alters the 3D geometry at render time, creating deep crevices in a stone wall that cast realistic, self-occluding shadows.
Shaders
Shaders dictate how a material interacts with light. They control properties like glossiness, transparency, and subsurface scattering. Subsurface scattering is crucial for materials like wax, leaves, or certain plastics, simulating the way light penetrates the surface, scatters inside, and exits at a different point.
Lighting Interaction
Materials only look real when they react correctly to light. A beautifully crafted leather material will fall flat if the room’s lighting is unnatural. Global illumination (GI) simulates how light bounces off surfaces, transferring colour and energy around the room. For example, a bright red carpet will subtly bounce a warm, reddish tint onto a white ceiling, blending the materials into a cohesive environment.
Common Challenges and Solutions
Creating realistic materials is rarely straightforward, and several common pitfalls can break the illusion of a render.
One frequent issue is incorrect scale. If the wood grain on a floorboard is mapped too large, the entire room will look like a miniature dollhouse. Artists must carefully UV map their models, a process of unwrapping the 3D geometry flat, to ensure the texture scale precisely matches real-world dimensions.
Another challenge is texture tiling. When a small image is repeated over a large surface, like a massive brick wall or a wide expanse of carpet, the human eye quickly spots the repeating grid pattern. To fix this, artists use seamless textures and mix in procedural noise or dirt maps to break up the uniformity, adding the random imperfections found in the real world.
Bringing the Vision to Life
The journey from a clinical CAD drawing to a breathtaking 3D render is a meticulous process of digital craftsmanship. The careful selection, application, and refinement of materials are what elevate a basic geometric model into a believable, tangible space. By understanding the physical properties of wood, metal, glass, and fabrics, and by mastering the software tools that simulate them, designers can present their clients with visualisations that are virtually indistinguishable from reality. The next time you review an interior project, take a closer look at the materials; they are the true architects of atmosphere.